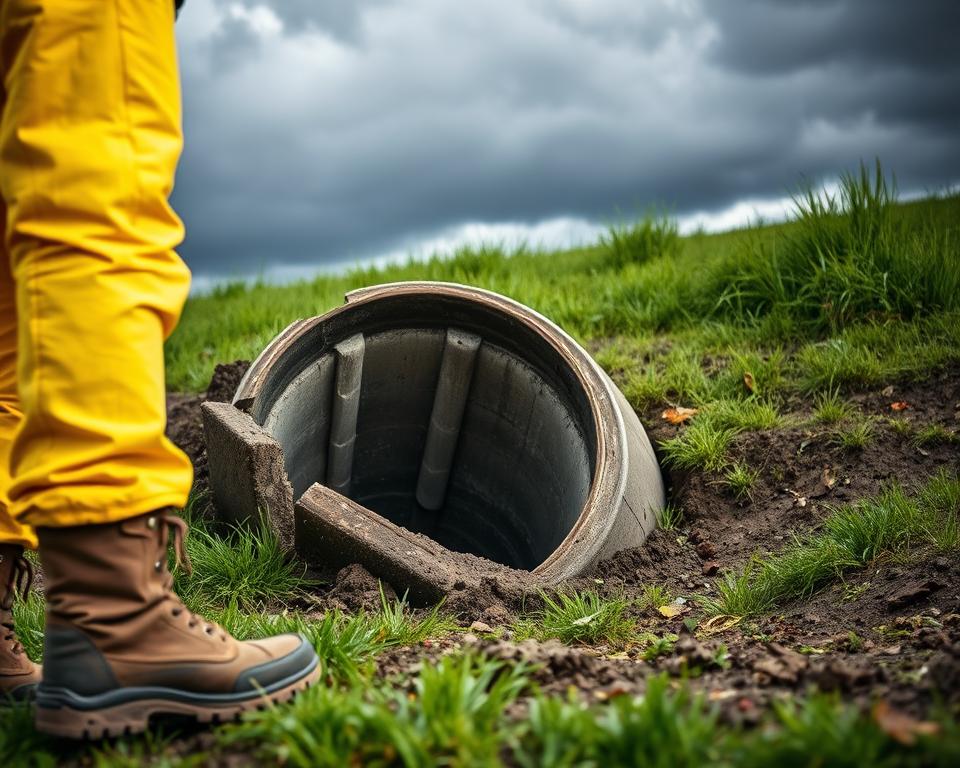
How Weather Affects Your Septic System in Hollywood
Understanding the Cost of a Septic Tank Inspection
Have you ever thought about the cost of a septic tank inspection or how it could save you money in the long run? For homeowners, especially concerning health risks and property value, knowing the cost of inspecting your septic system is crucial. Being aware of the factors influencing the cost of septic tank inspections and their service rates is vital. An expert like All in Sanitation can provide critical local knowledge and assist in keeping your septic system up to par – septic system cleaning.
Essential Points
- Understanding the costs associated with septic tank inspections helps prevent unexpected expenses.
- Local experts like All in Sanitation offer valuable support for homeowners.
- Regular inspections are essential for maintaining property value.
- Cost factors vary and can impact inspection prices.
- Key to effective maintenance is keeping abreast of inspection service rates.
Understanding the Importance of Septic Tank Inspections
Septic tank inspections are essential for homeowners, especially those in rural areas. They ensure septic systems work well and meet health guidelines. Expensive repairs and environmental risks can result from skipping these.
Homeownership goes beyond basic upkeep. A smoothly running septic system improves comfort and protects environmental health. It prevents water source pollution and lowers public health threats.
Regular checks are helpful for identifying small issues before they become worse. This proactive approach helps protect both property values and family health. Investing in routine septic inspections is therefore beneficial. It offers comfort and a dependable sanitation option.
| Benefit | Description |
|---|---|
| Cost Prevention | Early detection of issues prevents costly repairs in the future. |
| Health Safety | Ensures that septic systems do not contaminate drinking water. |
| Environmental Protection | Maintains the health of surrounding ecosystems by preventing leaks. |
| Compliance | Meets state and local health regulations to avoid fines. |
| Property Value | Well-maintained systems can improve the value of real estate. |
A Septic Inspection Explained
An overview of a septic inspection reveals what goes into evaluating a septic system. An in-depth check of the septic tank, drainage field, and pipes is typically included. Avoiding expensive fixes or dangerous conditions is possible as this extensive review allows homeowners to spot potential problems early.
During a septic tank check-up, experts focus on key areas. These areas include:
- Checking for any signs of leaks or water pooling near the tank.
- Measuring sludge levels to figure out tank capacity.
- Evaluating the drainage field’s functionality.
- Checking the pipes and connections’ overall condition.
For the septic system to work properly, each part is essential. Identifying areas needing attention is the goal of the inspection. Regular checks safeguard the system’s performance and improve its lifespan. Keeping up with property maintenance critically relies on these evaluations.
What Affects Septic Tank Inspection Prices?
Understanding the elements influencing septic inspection costs is crucial for homeowners. Various elements impact pricing for septic inspections, leading to a wide range of expenses for septic inspections.
One significant factor is location. Areas with high demand may experience increased prices. The type of septic system, whether conventional or alternative, also affects the cost. Raising the inspection fees is a result of complex systems demanding more expertise.
Accessibility is also key. Bumping up the price are hard-to-reach tanks that necessitate additional labor. Further inflating the cost are extra services such as soil tests or tank pumping.
| Factor | Impact on Cost |
|---|---|
| Location | Higher prices in urban areas; lower in rural zones |
| Type of System | Conventional systems cost less; advanced systems more |
| Accessibility | Hard-to-reach tanks may increase labor costs |
| Additional Services | Soil tests and pumping add to overall pricing |
Crucial in shaping septic inspection expenses are these factors. Being aware helps homeowners effectively anticipate septic tank inspection costs.
Average Cost of Septic Tank Inspection
Essential for homeowners is knowing the average cost of a septic tank inspection. Prices usually range between $100 and $900. Largely depending on the inspection type is this variance. While in-depth analyses or those requiring digging are costlier, basic visual checks are more affordable.
The table below shows the different inspection types and their associated price ranges:
| Type of Inspection | Cost Range |
|---|---|
| Basic Visual Check | $100 – $300 |
| Comprehensive Assessment | $300 – $600 |
| Excavation Required | $600 – $900 |
Offering septic inspection services at competitive rates is how All in Sanitation sets itself apart. It provides great value, accommodating various budgets. Knowing the typical charges for septic evaluations is crucial. It aids homeowners in making well-informed decisions about system upkeep and overall functionality.
Knowing When to Get a Septic Tank Inspection
Crucial for a well-maintained home is knowing when to get septic inspections. It’s vital during key moments, like before a property transaction. A quick check can reveal problems, affecting the property’s value or causing expensive repairs.
Plumbing signs indicating a septic issue should not be ignored. Odd smells or slow drains suggest problems. Addressing these signs quickly with an inspection prevents worse issues. Functioning properly is maintained for your plumbing by it.
Be aware of local septic inspection regulations. Ensuring you comply is done by knowing your area’s rules. Aim for inspections every 1 to 3 years, with the frequency depending on how many people live in your home and usage patterns. This schedule is a good baseline.
Being informed about septic inspection timing helps your system work well. Safeguarding your home and financial investment is done by it.
What Happens During a Septic Tank Inspection?
Key steps are involved in the septic tank inspection to ensure your system’s safety and functionality. Homeowners can be more ready and informed by knowing what occurs during an inspection.
Starting the inspection is a detailed site review. This involves checking the area around the tank, identifying any hazards, and ensuring the site is prepared for the inspection.
Checking the tank’s condition is done by the inspector after reviewing the site. Checking the tank walls and lid, they look for any damage or wear. They also assess sludge levels to see if the tank needs pumping.
A crucial final step involves leak detection. Searching for leaks to spot issues with the tank or drain field is done by the inspector. This complete review helps homeowners tackle issues and keep their system in good condition.
Septic Tank Inspection Timeframe
The duration of septic inspections typically ranges from one to three hours. This variation is dependent on the size and complexity of the system. Significantly longer evaluations might be needed for larger or more intricate systems.
Understanding the timing of the inspection helps homeowners prepare. Being present during this process allows for direct communication with the inspector. This interaction is a chance to learn about maintenance, identify potential issues, and verify compliance with standards.
Adequately scheduling time for the inspection helps ensure it is comprehensive. It also provides an opportunity to address any concerns. Always engage qualified professionals for an accurate evaluation tailored to your specific situation.
Cost Breakdown for Septic Tank Inspections
Grasping the cost of a septic inspection is critical for homeowners looking to evaluate or maintain their systems. Impacting the price, each inspection type serves a unique purpose and involves varying expertise levels.
As follows, these inspections are typically categorized:
- An Eye-Test Inspection: Priced between $100 to $200, a basic evaluation of the system’s visible parts.
- A Standard Inspection: Costing between $200 and $400, this goes beyond visual checks, testing system components and function.
- Full Examination: The most detailed form of inspection. It includes tank pumping, drain field inspection, and the use of specialized equipment. Prices range from $400 to over $1,000, based on system size and complexity.
When budgeting for a septic inspection, it is wise to consider potential additional costs for services or repairs. Aiding homeowners in preparing for these expenditures and ensuring a functioning system while averting expensive breakdowns later is a complete guide to septic system pricing.
Reasons Septic Tanks Fail Inspection
Several common issues result in septic tank inspection failures. Each problem can lead to expensive repairs and significant health risks. To keep systems in top condition, it’s crucial for homeowners to understand why inspections fail.
Routine maintenance is often overlooked, leading to system decay. Sludge buildup that is ignored due to infrequent inspections causes overloads and backups. Scheduling regular checks is needed for homeowners to avoid these issues.
System design errors can also lead to failure. The tank won’t effectively handle household waste if it is too small. Making matters worse, incorrectly laid pipes can obstruct proper drainage.
Environmental conditions have a significant effect on septic system function. Heavy rainfall can swamp the system, improving the chances of an inspection failure. Damage to the system can be caused by roots from trees planted too close to drain fields.
Substantial are the financial repercussions of failing a septic tank inspection. Repairing or replacing parts can cost from a few hundred to thousands of dollars. This emphasizes the vital need for regular maintenance and inspections.
Conducting Septic Tank Inspections: Who Does It?
Key is choosing the right expert for septic tank inspection. Only certified septic inspectors have the necessary expertise for this task. Understanding local regulations and ensuring your septic system meets necessary standards is what they do.
Thorough evaluations are carried out by certified professionals at companies like All in Sanitation. Spotting potential problems early is something they are trained to do. Offering homeowners confidence in their systems and meeting regulatory standards is a dual benefit of this.
Checking the qualifications and experience of any inspector is crucial. Look for reviews to gauge their reliability and attention to detail. Hiring someone without the proper qualifications might mean missing crucial issues, which could lead to expensive repairs down the line.
More Tips for Septic System Upkeep
Maintaining a septic system is crucial for preventing expensive repairs. Greatly improving its life is possible with a few practical tips. Regular pumping, every three to five years, prevents sludge from accumulating. Running smoothly is maintained for the system by this.
Also vital is choosing the right household products. Harsh chemicals are detrimental to the bacteria that break down waste. Choose options that are biodegradable and eco-friendly.
Septic treatment products improve healthy bacteria levels, aiding in the efficient breakdown of solids. This balance is essential for the system to be effective.
Adopting these maintenance tactics can reduce inspection costs in the long run. Costly fixes are seldom required by a well-cared-for system. Offering peace of mind and ensuring seamless operation are benefits of these proactive measures.
The Bottom Line
Crucial is understanding the costs linked with septic inspections. This understanding emphasizes the essential nature of investing in upkeep to prevent bigger problems. You can avoid spending more time and money later by maintaining your system on a regular basis.
Septic maintenance is vital for ensuring your home remains safe and operational. A well-kept system protects the environment and improves your property’s value. By conducting regular checks and addressing issues early, you avoid expensive repairs and prolong your system’s life.
Key is focusing on proactive management of septic inspections, in closing. Now’s the time to contact a professional like All in Sanitation if you haven’t scheduled an inspection. Taking these proactive steps ensures the longevity and efficiency of your septic system, offering you peace of mind.